Showing posts with label lemon rosemary. Show all posts

Sunday, April 20, 2014

The Hydrangea Cake

My mom said cake.. the lemon rosemary cake I made her for her birthday with the almond buttercream... that is what she wanted me to make for Easter Sunday. No question!

This cake is work.. you have to be so careful with the mixing of the egg whites and the meringue and making sure not a spot of oil is ANYWHERE in the kitchen so the meringue rises and then folding it into the batter. It's carefully executed, like a science experiment. 

She wanted me to make the rose bud cake again and I really wanted to, so gorgeous and lovely, but I wanted something brighter. Bolder. Whimsical.

I had seen a post about a hydrangea cake on one of my favorite blogs, I am Baker, and fell in love instantly.  I needed to try it! I obsessed over it actually, sneaking looks of it every day, creating the process in my head of how I was going to execute this thing! Finally I just went for it.


I added more rosemary this time around to my cake batter and the kitchen smelled like herbacious, lemony heaven as they baked. I held back a bit on the almond extract for my buttercream, so it was a bit more muted but still delicious. It crusted like a dream, which is super important when piping things like flowers.

To create the hydrangea petals, I used a 2M tip normally used for drop flowers.


When I piped, I added a lot of pressure, twisted, and released.  When you cram each one in, it starts to look like hydrangeas! This is one way of doing it.. Another would be to use a 104 tip and pipe each individual petal, which would take forever and is a bit methodical. I wanted this to be crazy, and fun, sort of all over the place.


The key to the multi-tone petals was to first, add a thin layer of white to my piping bag with a knife and spread it all around the outside, then add my colored buttercream on the inside.


I love how some of the flowers folded over, to give an authentic look. 


I was nervous about this one, but once I started going, it was super easy.. Icing on the cake! 


A little piece of confection perfection!


My little cousin Katie was enjoying the cake pops from yesterday's post! Little cutie!


I hope everyone enjoyed their Easter, a sunny day spent with family is always good!

-Elena

Wednesday, March 26, 2014

The Rose Bud Birthday Cake

Even though it is still a little chilly, and I am feeling a bit under the weather, it still does not change the fact that I am yearning desperately for spring.  I want to put the uggs and jackets away and slip on my capris and a light sweater and not worry about being cold! I want the sun to shine and the flowers to bloom and have it be warm enough to run after work everyday without a scarf and gloves!

With my mom's birthday in sight, I knew I wanted to make a cake that evoked the feeling of spring. I wanted to make something fruity and sweet, fresh and aromatic to celebrate her special day. As I perused some of my favorite food blogs, I found a recipe for a fluffy lemon rosemary cake, and I knew this was it!  My mom absolutely loves lemon cake, and the thought of using my absolute favorite savory spices in a dessert was super exciting.  I love rosemary. I go to Whole Foods and buy a few twigs of it, dice it up and mix it with butter to pour over purple potatoes and it's the best side dish EVER.  However, I would never have thought to use it in a dessert!  This cake has proved how versatile this spice is, and now I love it even more.


Adding 100% fresh ingredients to cake batter gives your senses something more-- you're feeling and tasting these ingredients while creating a visual in your head of what you're eating. I love that.


First, the dry ingredients-- flour, baking powder, baking soda, salt and sugar.
Then the wet ingredients--melted butter, buttermilk (I used almond milk + lemon juice), oil, vanilla, lemon zest, egg yolks and then the minced rosemary.


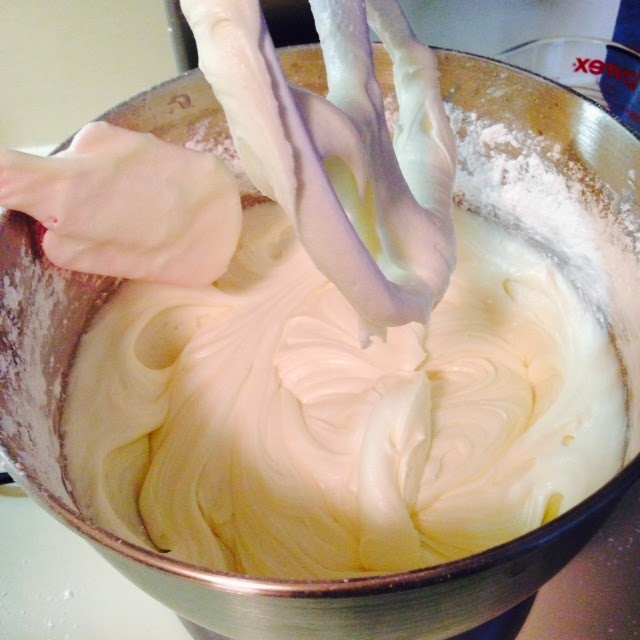
The great thing about this cake is it is made with a meringue! My mom LOVES meringue! I am not a meringue fan (I dislike eggs, a lot) but it is mixed in with all the ingredients at the end of the mixing phase, so it adds a fluffiness to the cake without eating a large layer of meringue on top like a lemon meringue pie.  With that said, then you make your meringue by mixing egg whites and sugar until stiff peaks form. 


 After incorporating the meringue into all the other ingredients CAREFULLY (don't want to deflate all the air you just whipped into your meringue, that's what gives the cake its fluffiness), you bake for 25-30 mins at 350 degrees!  Once the cakes were done, I cooled them, wrapped them and threw them in the freezer until I made the butter cream which was today!  This is when it gets fun-- carving the cake and icing it! 

So I carved away... Due to the meringue they baked a bit unevenly on the top but I did not worry, as you always cut off the top part and the sides of the cake before icing!  I decided on an almond butter cream which I added some fresh lemon juice to.


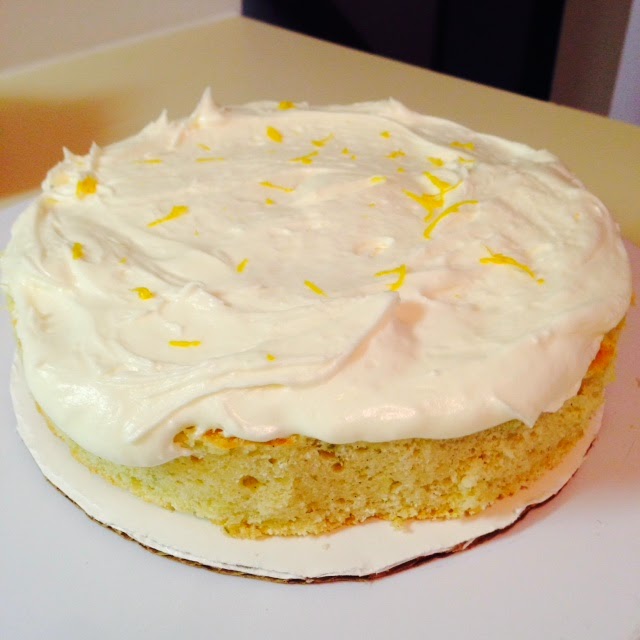
Filled the middle with butter cream, then added some lemon zest shavings for an extra lemony flavor!  Usually I would take better care in cutting my cake edge and cake round but due to my plan to ice it, it did not matter if it was cut evenly.


Once the middle was filled, I put the second cake on top and did a crumb coat. This crumb coat was a bit thicker than I would usually do, but again, my plans for later meant I needed to do a thicker coat.  I then put it in the refrigerator to set.


Of course, my displays mean just as much to me as my actual product does, as you eat with your eyes before your mouth, so I wanted to choose a cake plate that would be simple but gorgeous, and leave the cake to really shine on its own.  So I chose this vintage glass plate that my Grandma Pauline gave me! I absolute love it and I know my mom will too since it is her mother's plate.


In terms of icing the cake, I have been waiting to try and make a rose bud cake. I think it is such an elegant but again, simple design.  So I attempted, using my Wilton 1M tip.  Just start in the middle and twist as you make round "roses" that sort of overlap each other. You don't want to see the cake underneath. 


And here we have the finished product!  I did two layers of roses on the side, and three in the middle, with the outer layer sort of on top and on the side to blend and give the cake a more "rounded" look.  


Adding yellow and silver sugar pearls on top gave it a more "romantic" feel. Plus my mom loves silver!  And the yellow hints at the lemon flavor!


God I love beautiful food!


My mom loved it and we all devoured a piece as we sat around the table, sniffling and coughing because we're all under the weather! The almond butter cream was so smooth and complimented the lemon cake beautifully! I can't wait to make the cake again, and experiment with different sized tips to make different roses. It was very fun to make and I'm happy my end product was amazing.


-Elena